
Disk Defragmenter Windows
Nov 07. 2015
Disk Defragmenter is a utility in Microsoft Windows designed to increase access speed by rearranging files stored on a disk to occupy contiguous storage locations, a technique called defragmentation. Defragmenting a disk minimizes head travel, which reduces the time it takes to read files from and write files to the disk.
When Windows computers are used the day to day use of files on the system can cause files to be spread out across disks, known as fragmentation. Stated simply, this is the noncontiguous placement of files on a disk. Using the Defragmentation utility Windows can reorganize files to put like files together on disk and free space near the end. This will reduce disk movement and overall wear and tear on the hard disk.
Windows Server 2003 includes the Windows Disk Defragmenter to help combat these fragmentation problems. The GUI version of this utility is included in the Computer Management Console and will be the focus of this tip.
So where do I start?
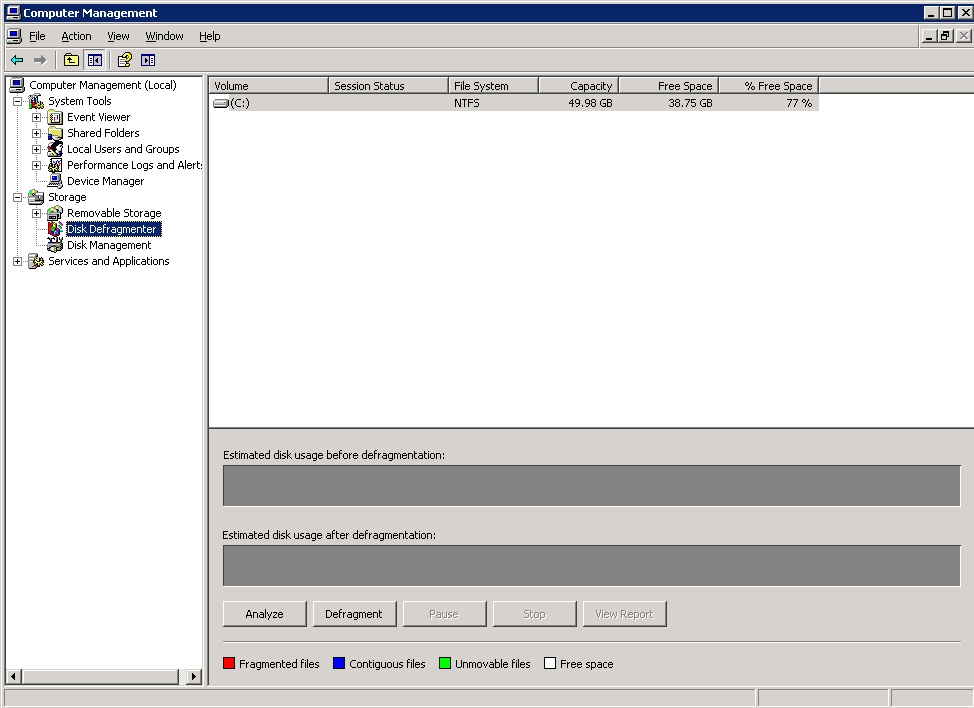
To get started with the Windows Disk Defragmenter, open the Computer Management Console on your Windows Server 2003 system by right clicking My Computer on the Start Menu and selecting Manage from the context menu.
Within this console, you can select Disk Defragmenter from the left pane. This will load the snap-in into the console’s right panel.

From there you can select the disk to defragment, provided the Windows Server 2003 you are working on has multiple disks.
To defragment your system, complete the following steps:
1.Highlight the drive letter you wish to defragment
2.Click the Defragment button to begin analysis and defragmentation of the selected drive
Note: When you select Defragment, Windows will first analyze the drive to see if it needs to run a defragmentation, and then proceed with defragmenting the drive. If you select the Analyze button, Windows will check for the need to defragment the drive and display its findings.
About us
- www.vpswebserver.com
-
Datacenter:
119 N 600 W Ogden, UT, 84404
Company: Pinella dr, Grayson, GA, 30017